Preview environments using GitHub Actions
This section will show you how to automatically create a preview environment for your applications using Okteto and GitHub Actions.
Pre-Requisites
- An Okteto account
- A GitHub account
For this tutorial, we'll be using our sample movies rental application. If you're using your own application to follow along, please ensure you have your Okteto Manifest configured.
Step 1: Create the GitHub Workflow
To create the preview environments, we will use our GitHub Actions for Okteto.
A preview environment follows the lifecycle of a Pull Request. The GitHub action we create will make sure that whenever a Pull Request is created:
- A preview environment is deployed in Okteto with the code in the PR
- The PR is updated with the URL of the preview environment
The sample repository has been configured to use the workflow described above.
If you want to use this on for your repositories, all you need to do is to create a .github/workflow folder in the root of your repo, and save your workflow file in it.
The workflow file to create the preview environments looks like this:
# file: .github/workflows/preview.yaml
on:
  pull_request:
    branches:
      - main

jobs:
  preview:
    runs-on: ubuntu-latest
    steps:
      - name: Context
        uses: okteto/context@latest
        with:
          url: ${{secrets.OKTETO_URL}}
          token: ${{ secrets.OKTETO_TOKEN }}

      - name: Deploy preview environment
        uses: okteto/deploy-preview@latest
        env:
          GITHUB_TOKEN: ${{ secrets.GITHUB_TOKEN }}
        with:
          name: pr-${{ github.event.number }}
          timeout: 15m
There are two different scopes for preview environments: personal, where the only one who has access to the environment is the own user; and global, where all cluster members have access. Creating a preview environment with global scope requires administrator permissions and can be done using admin access tokens
Step 2: Configure your secrets
If you noticed, the workflow uses the secrets.OKTETO_TOKEN and secrets.OKTETO_URL. We do this, so we don't have to commit these values into our repo.
Before you run this workflow you need to create the following secrets in your repository:
OKTETO_TOKENwith an Okteto access tokenOKTETO_URLwith the URL of your Okteto instance.
See Using secrets in GitHub Actions for adding these to your Github repository.
The workflow also uses secrets.GITHUB_TOKEN, but this gets populated automatically by GitHub.
Step 3: Open a Pull Request
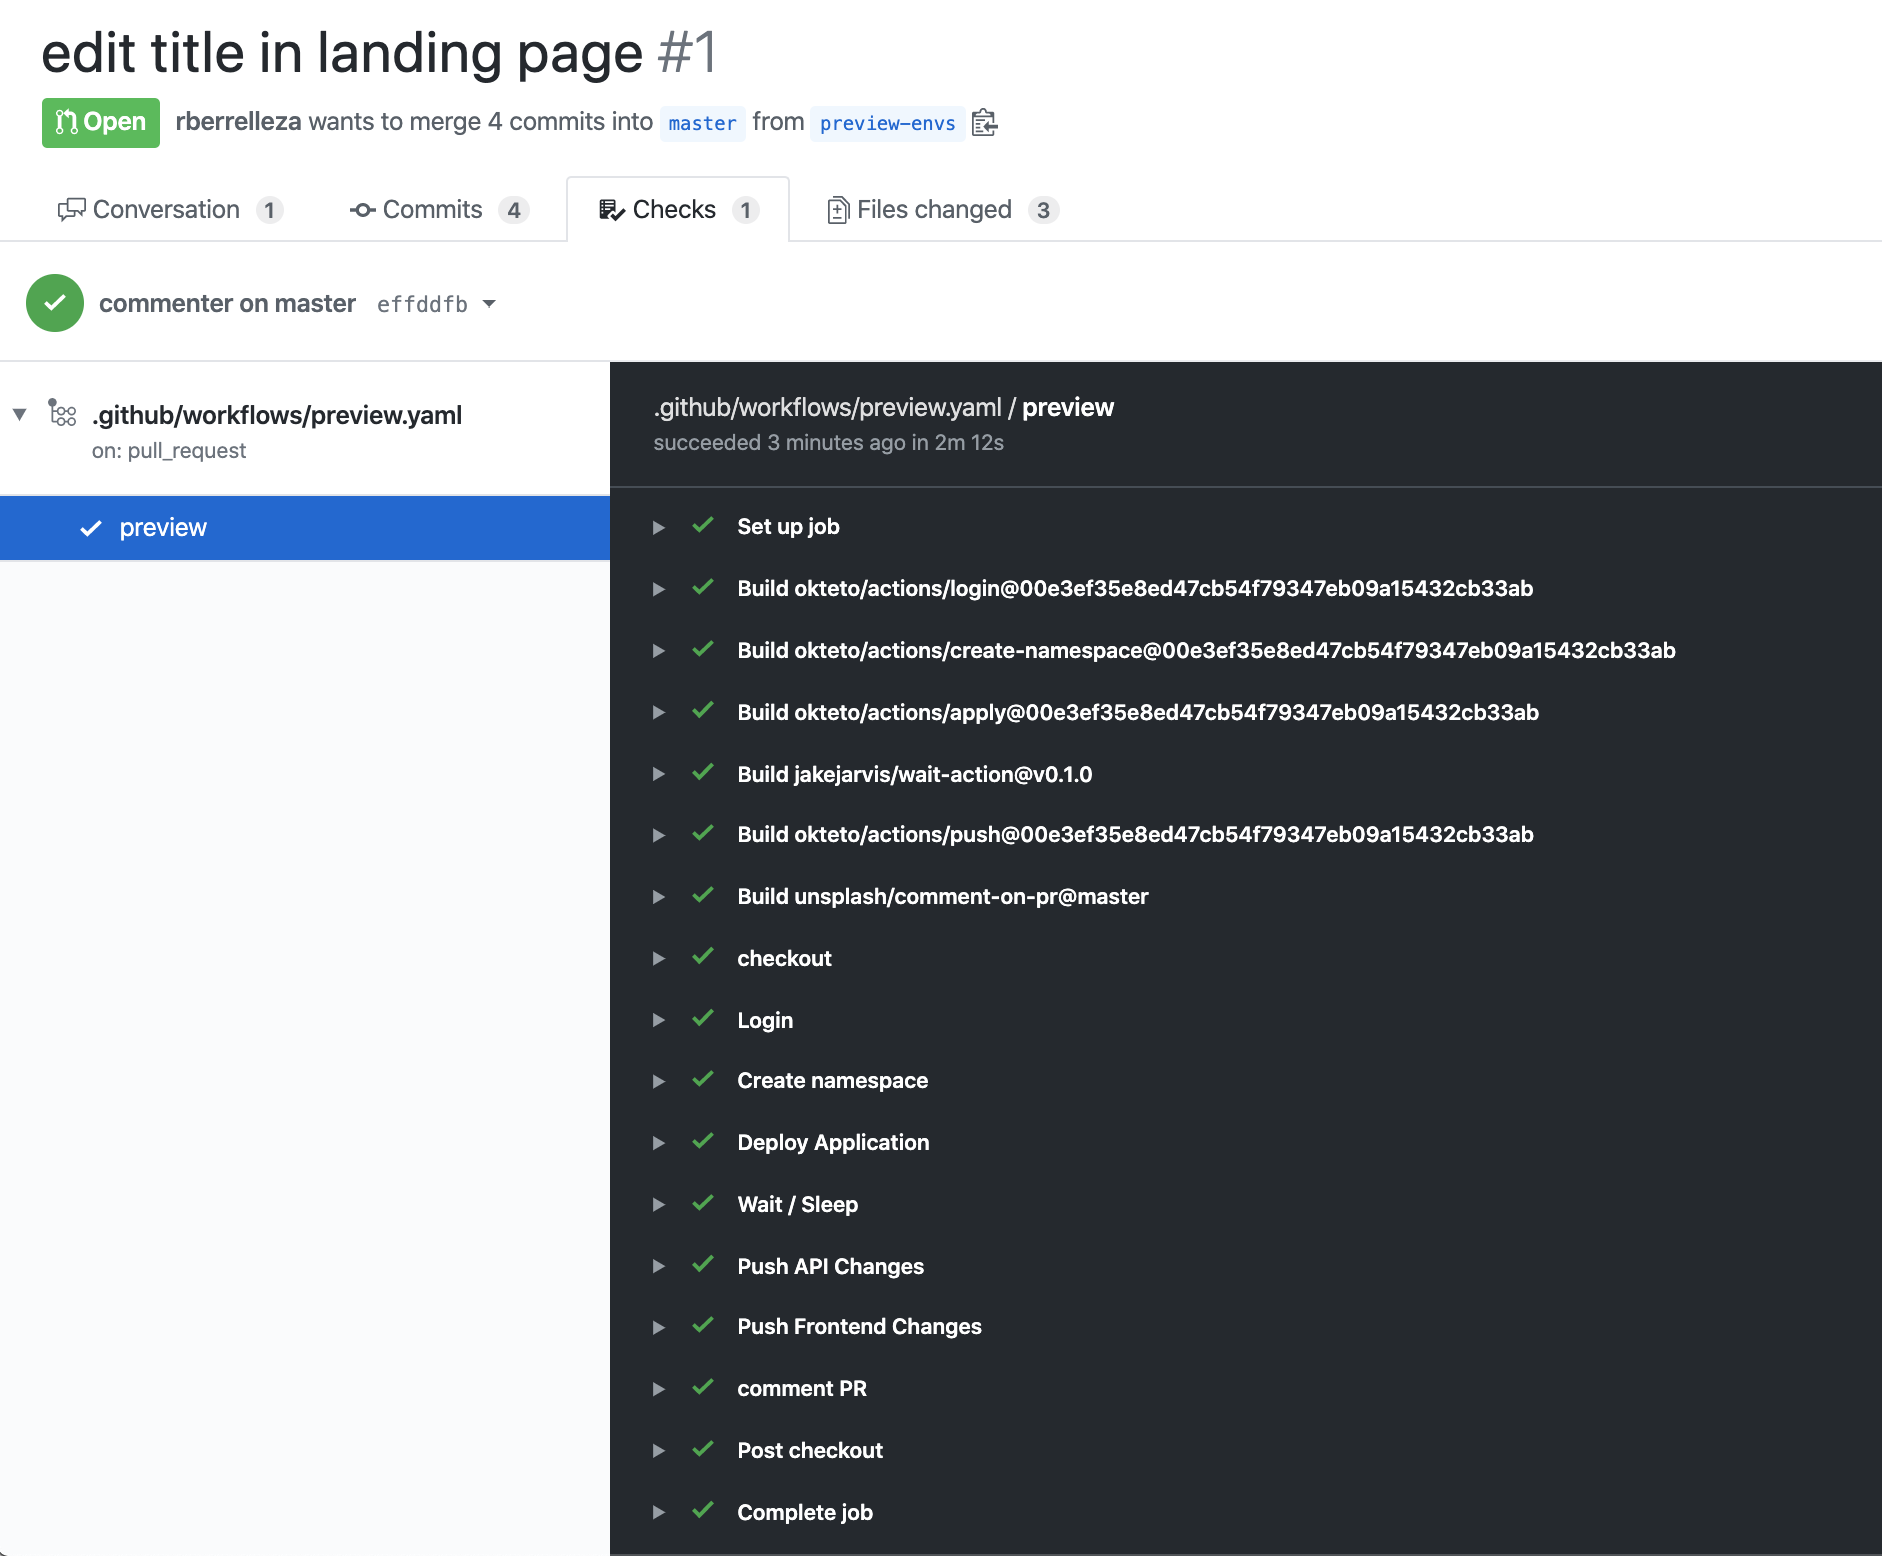
Once your changes are in your repository, go ahead and open a new pull request. GitHub will receive the event, and it will start your workflow. You can see the workflow's status and logs in the checks section of the pull request.

Step 4: See your changes live
After a few seconds, the workflow will update the pull request with the URL of your preview environment. Click on it to see the changes in real-time.

Every time the branch is updated, the same workflow will run, automatically updating the preview environment.
Step 5: Cleanup
The sample repo also includes a workflow to cleanup the preview environments once the pull request is closed. We recommend you follow this pattern to remove the preview environment after merging a pull request automatically.
# file: .github/workflows/preview-closed.yaml
on:
  pull_request:
    types:
      - closed

jobs:
  closed:
    runs-on: ubuntu-latest
    steps:
      - name: Context
        uses: okteto/context@latest
        with:
          url: ${{secrets.OKTETO_URL}}
          token: ${{ secrets.OKTETO_TOKEN }}

      - name: Destroy preview environment
        uses: okteto/destroy-preview@latest
        with:
          name: pr-${{ github.event.number }}
Resources
- How To Set Up Preview Environments With Okteto - A video walking through the process of setting up Preview environments.