Development Environments
We set configured Okteto CLI with Okteto Cloud in the previous section. In this section, let's do the fun bits of developing our application in our Development Environment.
One Command To Rule Them All
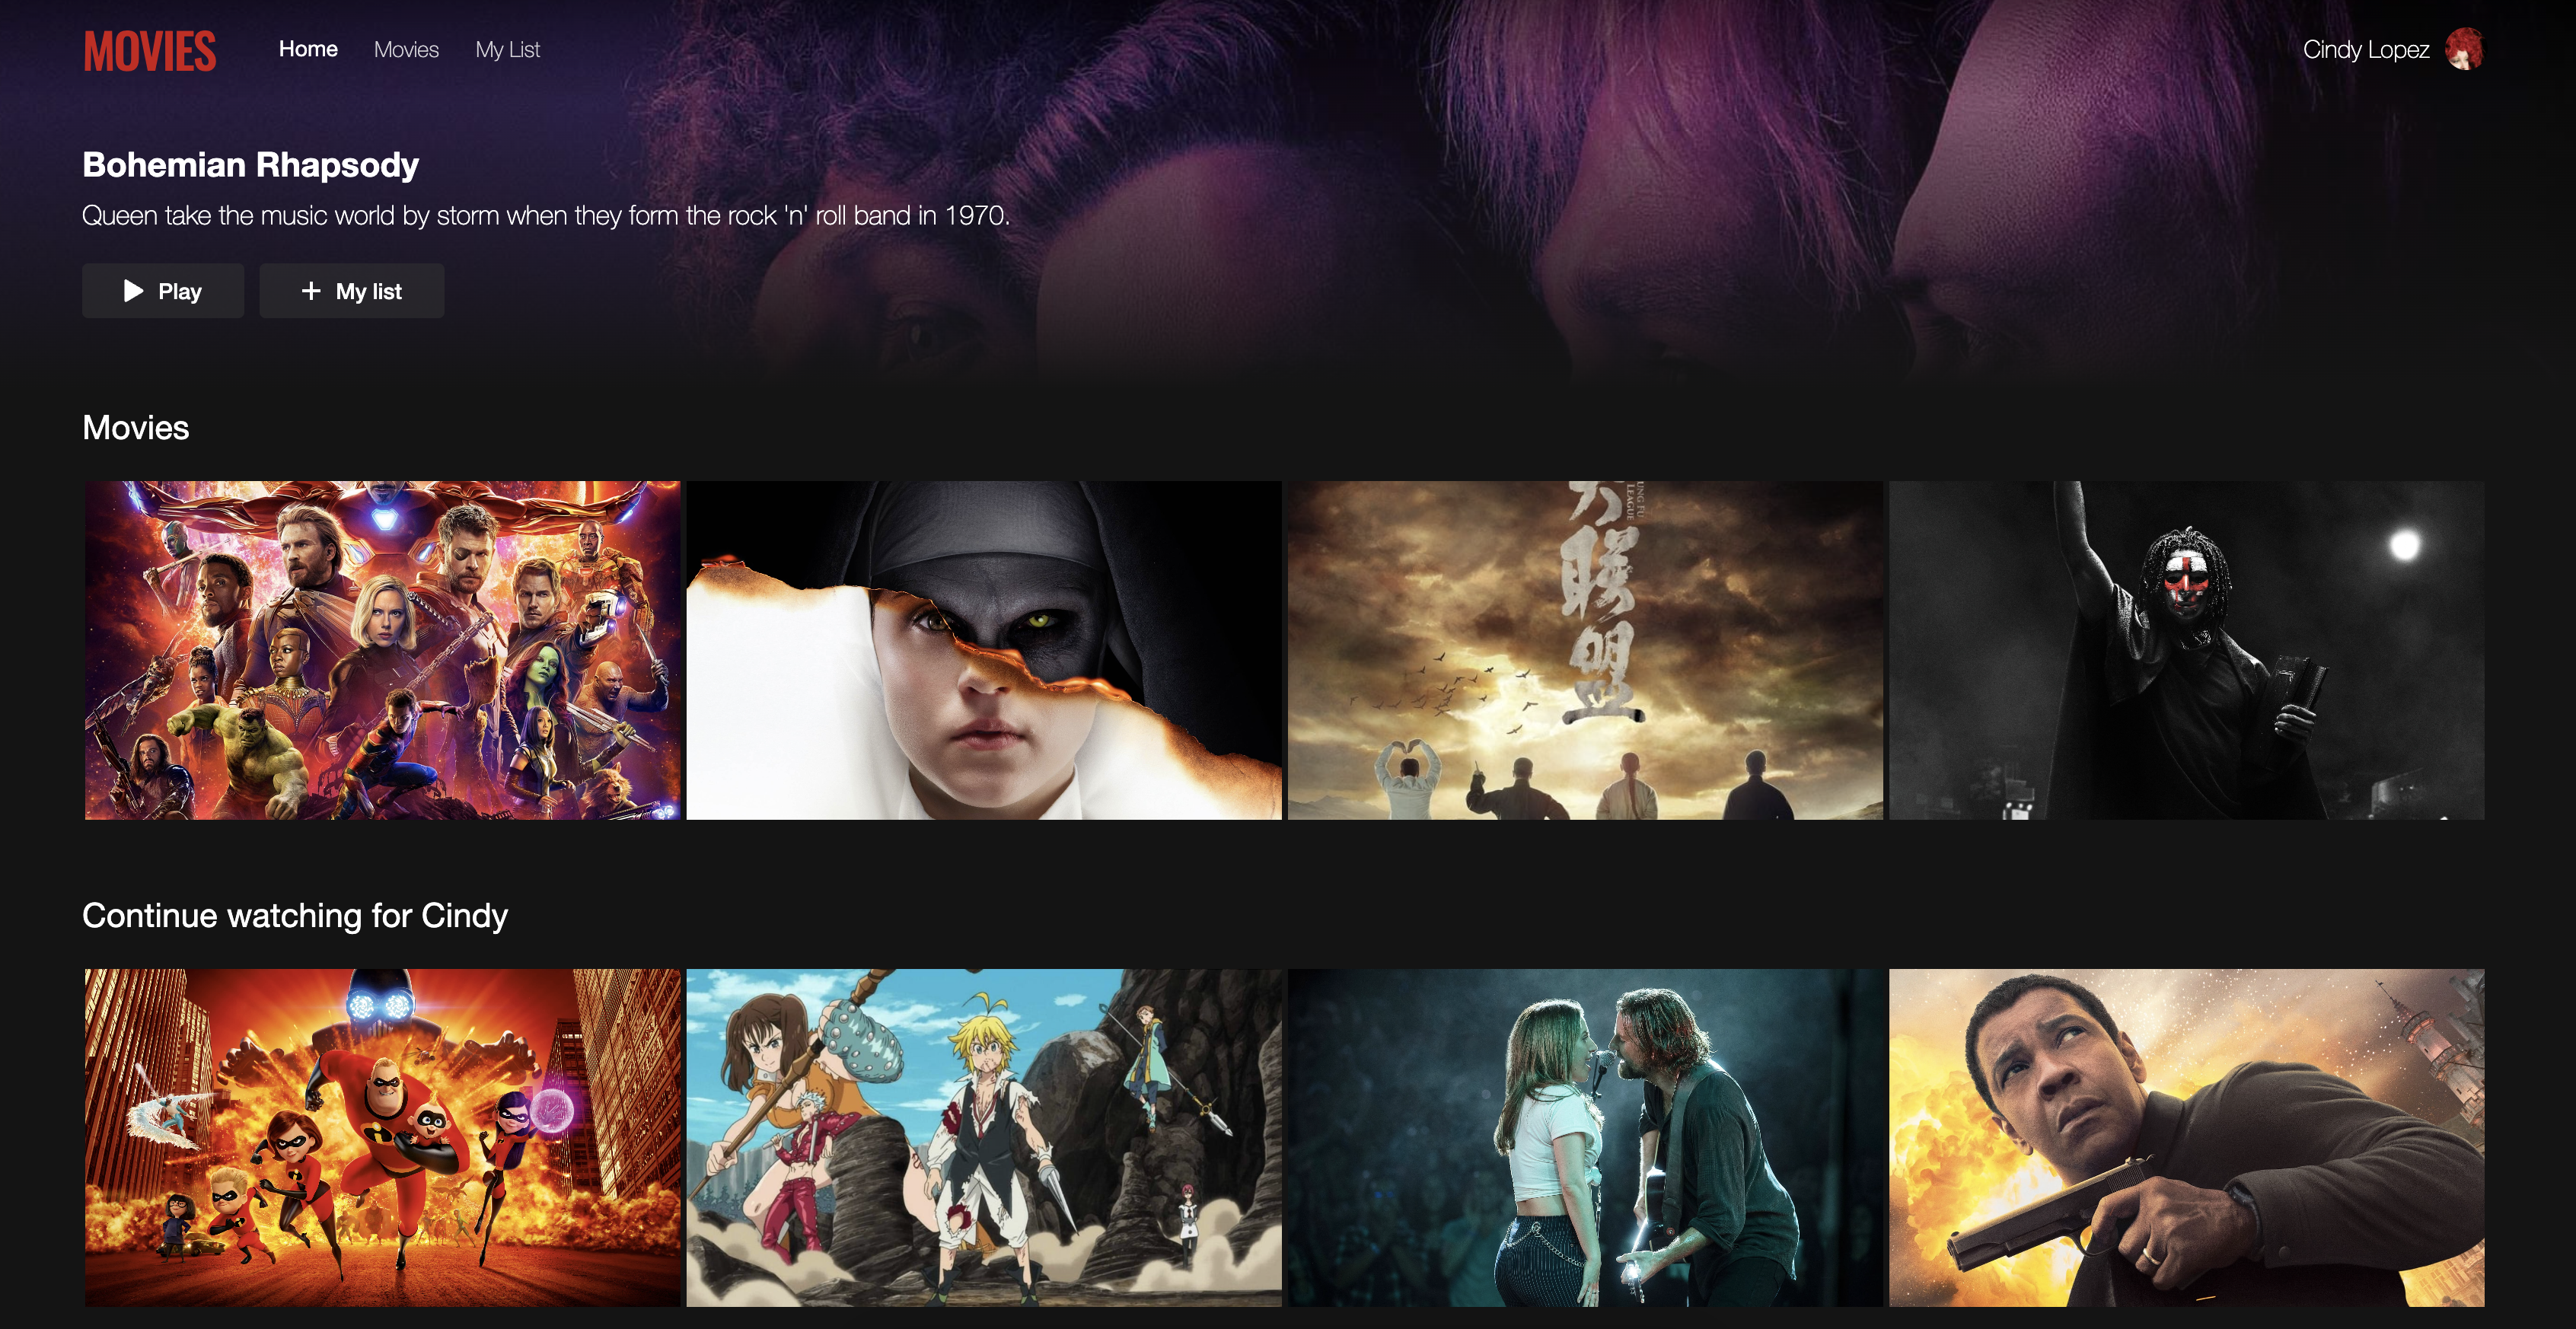
As part of this guide, we'll be fixing a bug in our sample Movies application. The application consists of a React frontend and a Node.js backend API. The frontend uses the REST endpoints of the backend API and loads two different lists of movies based on its response. Ideally, the application should look like this:

But there is a bug in the backend we need to fix to get to this state 🙂
We'll be using two different versions of this Movies application to demonstrate this. One using Docker Compose and another one using Helm charts to deploy the application.
- Movies App with Docker Compose
- Movies App with Helm
$ git clone https://github.com/okteto/movies-with-compose
$ cd movies-with-compose
$ okteto up
Since we already have a Docker compose file,
on running okteto up you should see Okteto CLI building the required Docker images for your microservices.
When it's done building the images, it will start deploying your application to Okteto Cloud.
You should see the deployed endpoints as part of the output in the CLI:
 ✓  Endpoint 'movies' created
 ✓  Volume 'data' created
 ✓  Service 'frontend' created
 ✓  Service 'mongodb' created
 ✓  Service 'api' created
 ✓  Service 'init' created
 ✓  Service 'movies' created
 ✓  Compose 'movies-with-compose' successfully deployed
 i  Endpoints available:
  - https://movies-with-compose-cindylopez.cloud.okteto.net/
These endpoints are also shown in the Okteto Cloud dashboard:

$ git clone https://github.com/okteto/movies-with-helm
$ cd movies-with-helm
$ okteto up
Since we already have a Okteto manifest,
on running okteto up you should see Okteto CLI building the required Docker images for your microservices.
When it's done building the images, it will start deploying your application to Okteto Cloud.
You should see the deployed endpoints as part of the output in the CLI:
Release "movies" does not exist. Installing it now.
NAME: movies
LAST DEPLOYED: Mon Jul  4 11:15:16 2022
NAMESPACE: pchico83
STATUS: deployed
REVISION: 1
TEST SUITE: None
NOTES:
Success! Your application will be available shortly.
 i  Endpoints available:
  - https://movies-cindylopez.cloud.okteto.net/
  - https://movies-cindylopez.cloud.okteto.net/api
These endpoints are also shown in the Okteto Cloud dashboard:

Next, a prompt will ask for the microservice you want to develop.
    Select the development container you want to activate:
    Use the arrow keys to navigate: ↓ ↑ → ←
  ▸ api
    frontend
Let's go with api because we know there's a bug there we need to fix 🙂
 ✓  Development container 'api' selected
 ✓  Persistent volume successfully attached
 ✓  Images successfully pulled
 ✓  Files synchronized
    Context:   cloud.okteto.com
    Namespace: cindylopez
    Name:      api
    Forward:   9229 -> 9229

yarn run v1.22.19
$ nodemon server.js
[nodemon] 2.0.4
[nodemon] to restart at any time, enter `rs`
[nodemon] watching path(s): *.*
[nodemon] watching extensions: js,mjs,json
[nodemon] starting `node server.js`
Server running on port 8080.
Now, you should be able to view your application when you visit their endpoints. Behind the scenes, the Dev Environment will synchronize your changes every time you save them.
Development Time!
Visiting the frontend endpoint for the Movies app, something doesn't look right here, does it?

The list of movies is the same as Cindy's list. Let's fix that.
Open your favorite IDE on your local machine and edit line 43 in /api/server.js to:
db.collection('watching').find().toArray( (err, results) =>{
Now save your changes and go back and refresh the browser. Okteto CLI will automatically synchronize your changes to your development container. Take a look at the development container shell and notice how the changes are detected by nodemon and automatically hot reloaded.
[nodemon] restarting due to changes...
[nodemon] starting `node server.js`
Server running on port 8080.
See the magic?

Okteto's Development Environment allowed the changes you made to your code locally to reflect immediately on the deployed version of your application. Gone are the troubles of committing and waiting for long CI builds to see how your changes would look in production!
Next Steps
Congratulations! You successfully developed your first application in a Remote Development Environment.
In this Getting Started guide, we learned how to install Okteto CLI and configure it with Okteto Cloud. Then we saw how you could launch a Development Environment just using a single command: okteto up. After that, we fixed a bug in our Movies application using the Dev Environment we had spun up.
From here, we recommend the following next steps:
- Try launching a Dev Environment for your own application following similar steps to what we saw in this guide.
- If you want to know more things Okteto can help you with, have a look at our Preview Environments.